
Bank Reconciliation
How to Reconcile a Bank Statement
Learning how to reconcile bank statement gives you a clear picture of where your money actually stands. You gather the monthly statement from your bank and line it up against the transactions you have recorded yourself. The goal is to confirm every deposit and every withdrawal matches, so you spot fees or mistakes right away. You also begin to notice patterns in how certain merchants post their charges or how payroll deposits sometimes arrive a day earlier than expected.
Most households find the task straightforward once they set up a simple routine. You work through the numbers methodically rather than guessing at the difference. Over time the steps become familiar and take less effort each month. The same approach works whether you track entries by hand or use software that pulls data from your accounts. Families with multiple accounts discover that reconciling one statement at a time prevents confusion when transfers move between checking and savings.
Beyond immediate corrections, the process shows how timing differences between your records and the bank affect available funds on any given day. You learn which payments tend to clear faster and which ones lag, allowing better planning around cash availability without waiting for the next statement. This awareness proves especially useful when you schedule larger payments or anticipate a temporary dip caused by a weekend processing delay.
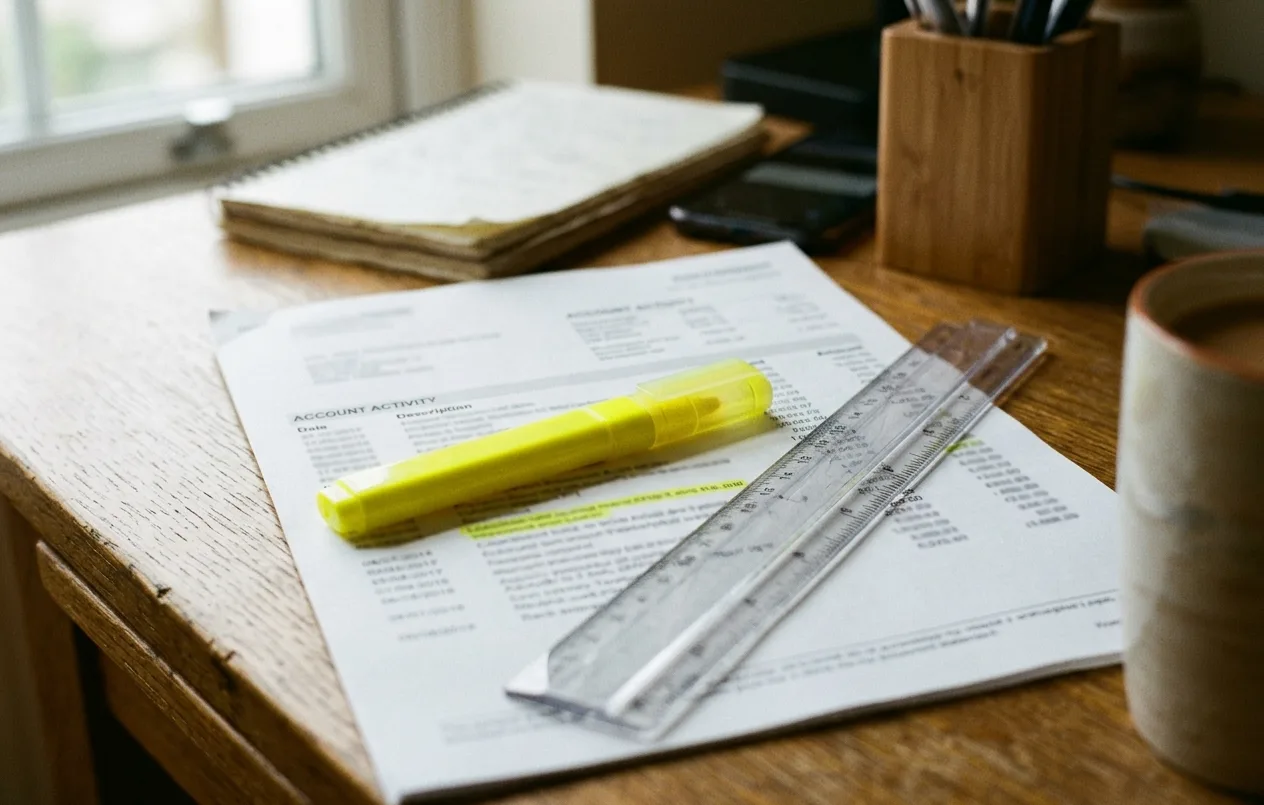
What you need before you start
Collect your most recent bank statement along with any register or spreadsheet where you log transactions. Make sure the dates line up so you are comparing the same period. A calculator or basic spreadsheet helps when you add and subtract the figures. Older statements stored in a folder allow you to cross-check any carryover items that appeared in prior months.
If you keep receipts or notes about pending items, have those nearby as well. Some people also pull up their online banking portal to double-check any recent activity that has not yet appeared on the printed statement. Keeping a separate note of any automatic bill payments helps confirm whether those amounts have already been deducted or are still scheduled.
Prior reconciliations from the previous period provide a reference point for any carried-over differences that might still need attention. Having those on hand prevents revisiting the same unresolved item multiple times across months. Reviewing the prior ending balance also confirms that the starting figure for the current period is accurate before you begin matching entries.
Organizing documents by date rather than by type speeds up the initial comparison because you can flip through the statement and your ledger in the same sequence. A quiet workspace with enough room to spread papers reduces the chance that you overlook a line when moving between sources.
- Your bank statement for the period you want to review.
- A complete list of every deposit and withdrawal you have recorded.
- Any receipts or notes that explain transactions still in progress.
- A calculator or spreadsheet for running the totals.
- Access to online banking in case you need to verify a recent entry.
Step-by-step reconciliation
The process begins with an overall view of the period so you understand the total number of entries before matching begins. This overview reveals whether the volume of transactions has changed noticeably from earlier months, which can signal a need for extra time. Breaking the work into focused segments prevents fatigue and keeps accuracy high throughout.
You can alternate between deposits and withdrawals if your concentration stays sharper that way, though many people prefer completing one category fully before moving to the next. Either order works as long as you remain consistent within the single reconciliation session. After finishing the main matching work, a final sweep for any missed adjustments such as interest or fees ensures the ending figures align without leftover questions.
Match deposits
Begin with the deposits because they tend to be fewer and easier to verify. Go through each credit on the statement and locate the matching entry in your own records. Note the date and amount to confirm they align exactly. Direct deposits from employers sometimes carry a different description than you expected, so matching the exact dollar figure helps confirm the source without confusion.
If a deposit appears on your statement but not in your records, investigate whether it came from an automatic transfer or a payment you expected. Update your ledger once you confirm the source. Transfers between your own accounts at the same bank may appear with a slight delay, requiring you to check both sides before recording the item as new income.
Match withdrawals
Next turn to the withdrawals. Compare every debit listed on the statement with the corresponding entry you have kept. Pay special attention to recurring charges that may have changed in amount or date. Utility companies occasionally adjust billing cycles, which can shift a payment into a different statement period than usual.
Some withdrawals involve merchant name variations or slight amount differences due to tips or fees added after the initial authorization. Checking these variations prevents marking a valid charge as unmatched. Gasoline purchases and restaurant tabs frequently show these small additions once the final settlement reaches the bank.
Account for outstanding items
Some checks or electronic payments may not have cleared the bank yet. List these outstanding items separately and subtract them from your recorded balance to arrive at the figure the bank currently shows. Writing down both the check number and the exact amount keeps the list easy to verify later if the item clears in the following period.
Electronic transfers scheduled near the statement cutoff date often fall into this category. Recording the exact scheduled date helps confirm whether the item belongs in the current reconciliation or the next one. Payments initiated on a Friday may not post until the following Monday, creating a temporary gap that resolves without any error.
Compare ending balances
Subtract the total of any outstanding items from your own ending balance. The result should equal the ending balance on the bank statement. When the two numbers agree, the reconciliation is complete for that period. This final agreement confirms that every transaction has either cleared or been properly flagged for the next cycle.
A remaining small difference after this calculation often traces back to interest credits or service charges posted on the final day of the period. Adding those adjustments to your records closes the gap without further searching. Interest earned on savings accounts linked to checking may post only once per quarter, requiring a quick note so the amount does not surprise you during the next review.

When the balances don't match
Start by checking for simple arithmetic errors in your addition or subtraction. A single misplaced decimal can throw the totals off by a noticeable amount. Next scan both lists again for any transaction you may have entered twice or skipped entirely. Handwritten registers sometimes contain transposed digits that only become obvious after the second pass.
Look for fees or adjustments the bank applied that do not yet appear in your records. If the difference persists, review recent activity on your online banking site to catch items that posted after your last update. Duplicate Charges often surface during this step. International transactions can include separate line items for conversion fees that were not visible at the time of purchase.
A tool such as Plenarax can help surface repeated entries once the service becomes available to the public. In the meantime, a careful manual review usually reveals the cause after a second pass through the numbers. Sorting entries by amount rather than date sometimes highlights identical figures that were entered on different days.
Differences sometimes stem from currency conversion fees on international purchases that appear only on the statement. Noting the original transaction amount in your records makes these fees easier to isolate during later reviews. Subscription services that bill in foreign currencies may also generate small rounding differences that accumulate over several months.
How often to reconcile
Reconciling once a month aligns with most bank statement cycles and keeps discrepancies small. You catch problems while the details remain fresh in your memory. Quarterly reviews can work if your transaction volume stays low and you maintain careful daily logs. Seasonal businesses sometimes shift to twice-monthly checks during peak months to avoid backlog.
People who run side businesses often reconcile more frequently because the number of entries grows quickly. Weekly spot checks on high-activity accounts reduce the chance that a large error sits unnoticed for long. Check Register and Checkbook Apps can shorten the time required for these extra reviews. Freelancers who receive irregular client payments benefit from matching deposits as soon as they appear rather than waiting for month end.
Whatever schedule you choose, stay consistent. Regular Bank Statement Reconciliation builds confidence that your records reflect reality. Receipt Scanner and Tracker Apps offer another way to keep supporting documents organized between full reconciliations. Some households mark a recurring calendar reminder so the task does not slip when other obligations increase.
Accounts with many automatic payments benefit from mid-cycle checks to confirm that each scheduled amount actually left the account on the expected date. This practice catches timing shifts before they accumulate into larger mismatches at month end. Joint accounts shared with family members may require an extra review after any shared card is used to ensure both parties have recorded the same entry.